
In this blog, I am going to show you how to simply setup Django application on Cloudpanel 2 with uWSGI and nginx
This tutorial is aimed at the Django user who wants to set up a production web server. It takes you through the steps required to set up Django so that it works nicely with uWSGI and nginx. It covers all three components, providing a complete stack of web application and server software.
CloudPanel is a free software to configure and manage a server with an obsessive focus on simplicity.
Run static websites, PHP, Node.js and, Python applications.
Django is a high-level Python Web framework that encourages rapid development and clean, pragmatic design.
nginx (pronounced engine-x) is a free, open-source, high-performance HTTP server and reverse proxy, as well as an IMAP/POP3 proxy server.
A Web Server Gateway Interface – WSGI – does this job. WSGI is a Python standard.
uWSGI is a WSGI implementation. In this tutorial we will set up uWSGI so that it creates a Unix socket, and serves responses to the web server via the uwsgi protocol. At the end, our complete stack of components will look like this:
the web client <-> the web server <-> the socket <-> uwsgi <-> Django
- First go to your Cloudpanel Hosting, then go to Add site

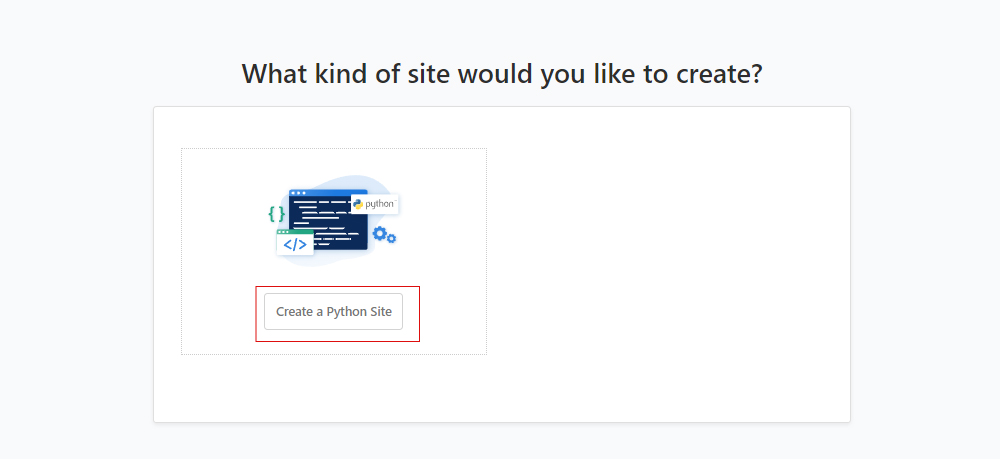
2. Create a Python site
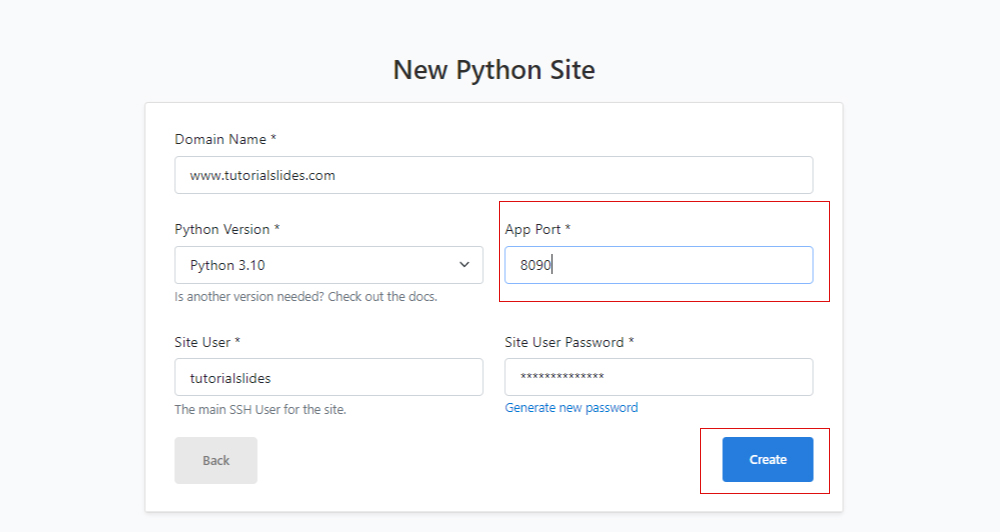
3. Add and note details given below:
1) Domain name – www.tutorialslides.com
2) App port – 8090
3) Site User – tutorialslides
Now click on Create
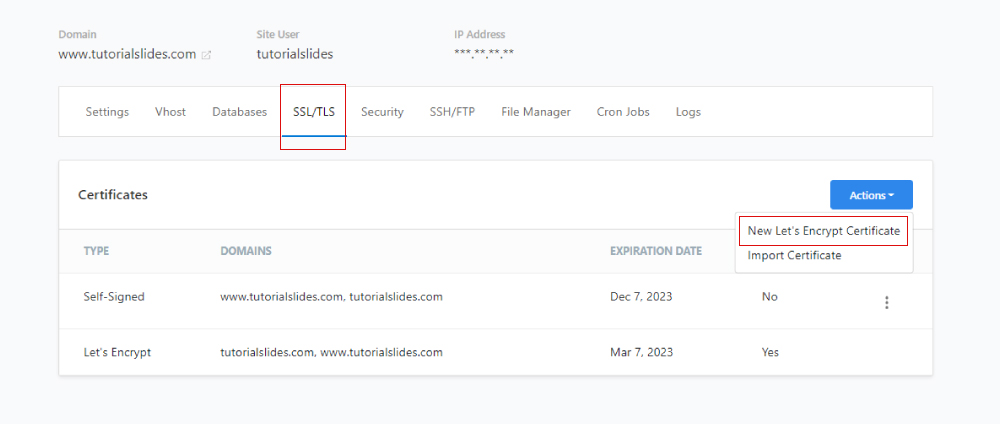
4. Now install SSL Let’s Encrypt Certificate
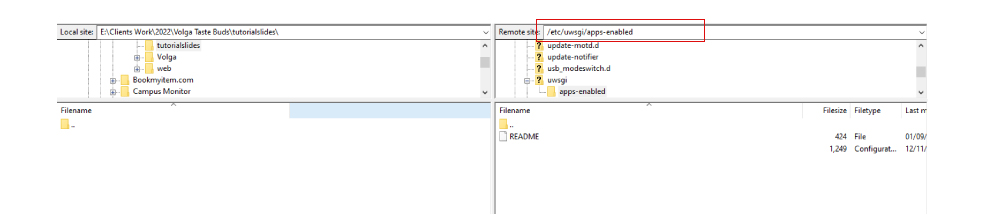
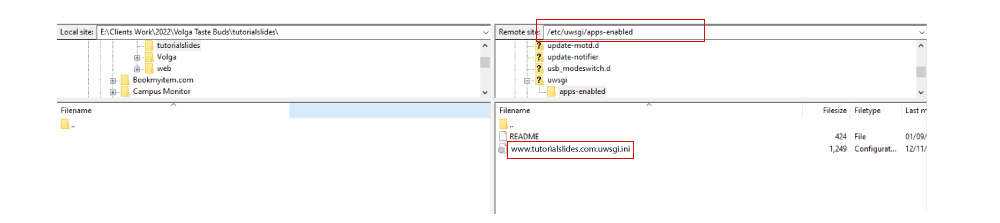
5. Log in via SSH with the Root User and go to the uwsgi apps directory: Use Filezilla
cd /etc/uwsgi/apps-enabled/
6 . Create a configuration file like Domain Name given above domain.uwsgi.ini and modify the example configuration below to your needs:
www.tutorialslides.com.uwsgi.ini
[uwsgi]
plugins = python3
master = true
protocol = uwsgi
socket = /home/tutorialslides/htdocs/www.tutorialslides.com/tutorialslides.sock
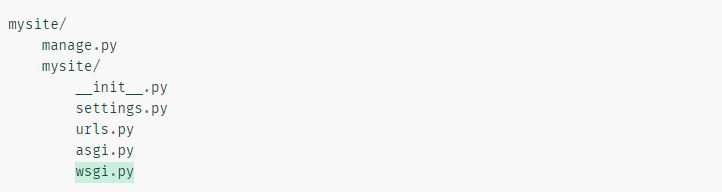
# Note: Below code wsgi-file is very important as In your django project find wsgi.py and give path properly.
#In my project wsgi-file is inside Food folder
wsgi-file = /home/tutorialslides/htdocs/www.tutorialslides.com/Food/wsgi.py
chdir = /home/tutorialslides/htdocs/www.tutorialslides.com
module = Food/wsgi.py
home = /home/tutorialslides/htdocs/www.tutorialslides.com/env/
master = true
# Needed for OAuth/OpenID
buffer-size = 8192
# Reload when consuming too much of memory
reload-on-rss = 250
# Increase number of workers for heavily loaded sites
workers = 4
# Enable threads for Sentry error submission
enable-threads = true
# Child processes do not need file descriptors
close-on-exec = true
# Avoid default 0000 umask
umask = 0022
# Enable harakiri mode (kill requests after some time)
# harakiri = 3600
# harakiri-verbose = true
# Enable uWSGI stats server
# stats = :1717
# stats-http = true
# Do not log some errors caused by client disconnects
ignore-sigpipe = true
ignore-write-errors = true
disable-write-exception = true
Note: Below code wsgi-file is very important as In your django project find wsgi.py and give path properly. In my project wsgi-file is inside Food folder.
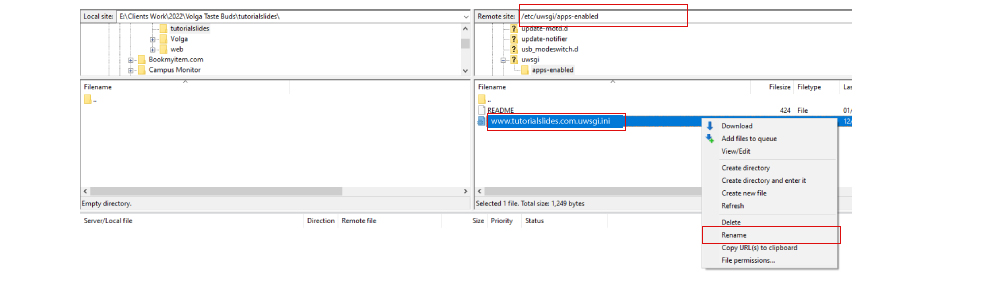
7. Make sure after upload your extension should be correct
www.tutorialslides.com.uwsgi.ini
Note: In windows , Extension may not create properly so make sure after uploading uwsgi.ini file verify it. If extension is missing as given below www.tutorialslides.com.uwsgi . Rename file name www.tutorialslides.com.uwsgi.ini
8. Now Activate venv and install all the project files and django as well. Path given below
					# Go to your folder first
cd /home/tutorialslides/htdocs/www.tutorialslides.com

# Create Venv
python -m venv env

# or

python3 -m venv env

# Activate Venv
source env/bin/activate

# Install django and copy all the files to the project folder

python -m pip install Django
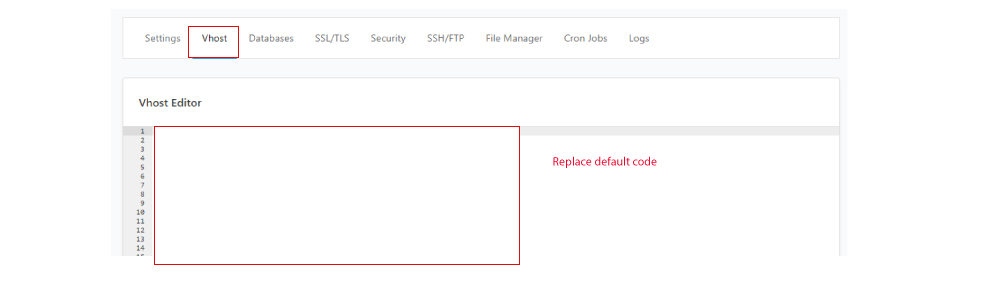
9. Now change Vhost Default values
					upstream django {
   server unix:/home/tutorialslides/htdocs/www.tutorialslides.com/tutorialslides.sock;
    #server 127.0.0.1:8090; # for a web port socket (we'll use this first)
}

server {
  listen 80;
  listen [::]:80;
  listen 443 ssl http2;
  listen [::]:443 ssl http2;
  {{ssl_certificate_key}}
  {{ssl_certificate}}
  server_name www.tutorialslides.com;

client_max_body_size 75M;   # adjust to taste

    # Django media
    location /media  {
        alias /home/tutorialslides/htdocs/www.tutorialslides.com/images;  # your Django project's media files - amend as required
    }

    location /static {
        alias /home/tutorialslides/htdocs/www.tutorialslides.com/static; # your Django project's static files - amend as required
    }


  {{root}}
charset     utf-8;
  {{nginx_access_log}}
  {{nginx_error_log}}

  if ($scheme != "https") {
    rewrite ^ https://$host$uri permanent;
  }


  location ~ /.well-known {
    auth_basic off;
    allow all;
  }

  {{settings}}

  index index.html;

  location / {

    uwsgi_read_timeout 3600;
    #uwsgi_pass  unix:/home/tutorialslides/htdocs/www.tutorialslides.com/tutorialslides.sock;
    #uwsgi_pass 127.0.0.1:{{app_port}};

      uwsgi_pass  django;
       include uwsgi_params;


  }

  #location ~* ^.+\.(css|js|jpg|jpeg|gif|png|ico|gz|svg|svgz|ttf|otf|woff|woff2|eot|mp4|ogg|ogv|webm|webp|zip|swf)$ {
  #  add_header Access-Control-Allow-Origin "*";
  #  expires max;
  #  access_log on;
  #}

  if (-f $request_filename) {
    break;
  }
}
10. Now restart ngnix and wsgi
					sudo /etc/init.d/nginx restart

sudo systemctl reload nginx
sudo systemctl restart uwsgi
11. Now try to run code. if your website is running properly or not
					#change Food/wsgi.py with your wsgi.py path
uwsgi --socket tutorialslides.sock --wsgi-file Food/wsgi.py
12. If working properly, Reboot server
reboot
That’s it. If you are facing any issues. Please do reach out to me for paid support.